The fork is in the fixture, which holds the pieces in alignment, sets the fork offset (distance the axel is placed relative to the centerline of the steerer tube, and dropouts parallel to each other.

The Ti fork is purged with argon from the top down, allowing the oxygen to be displaced out the top as it is a lighter gas. This prevents contamination of the welded joint from the interior of the tubing. Once fullyt purged, the fork is tacked together.

Once welded up, I mitered the steerer tube at the base to provide just a bit more tire and mud clearance.

Fresh off the mill...

The main body of the fork is complete, so now to add the disc tab. The tab is first machined to fit the fork, providing the correct standoff of the mounting holes relative to the center of the axle position in the dropout.

The tab is then machined with a hole saw to match the round shape of the fork leg so that it maximizes the contact surface area.

The tab is a nice fit, time for welding it in place...

All sewn up on both sides...

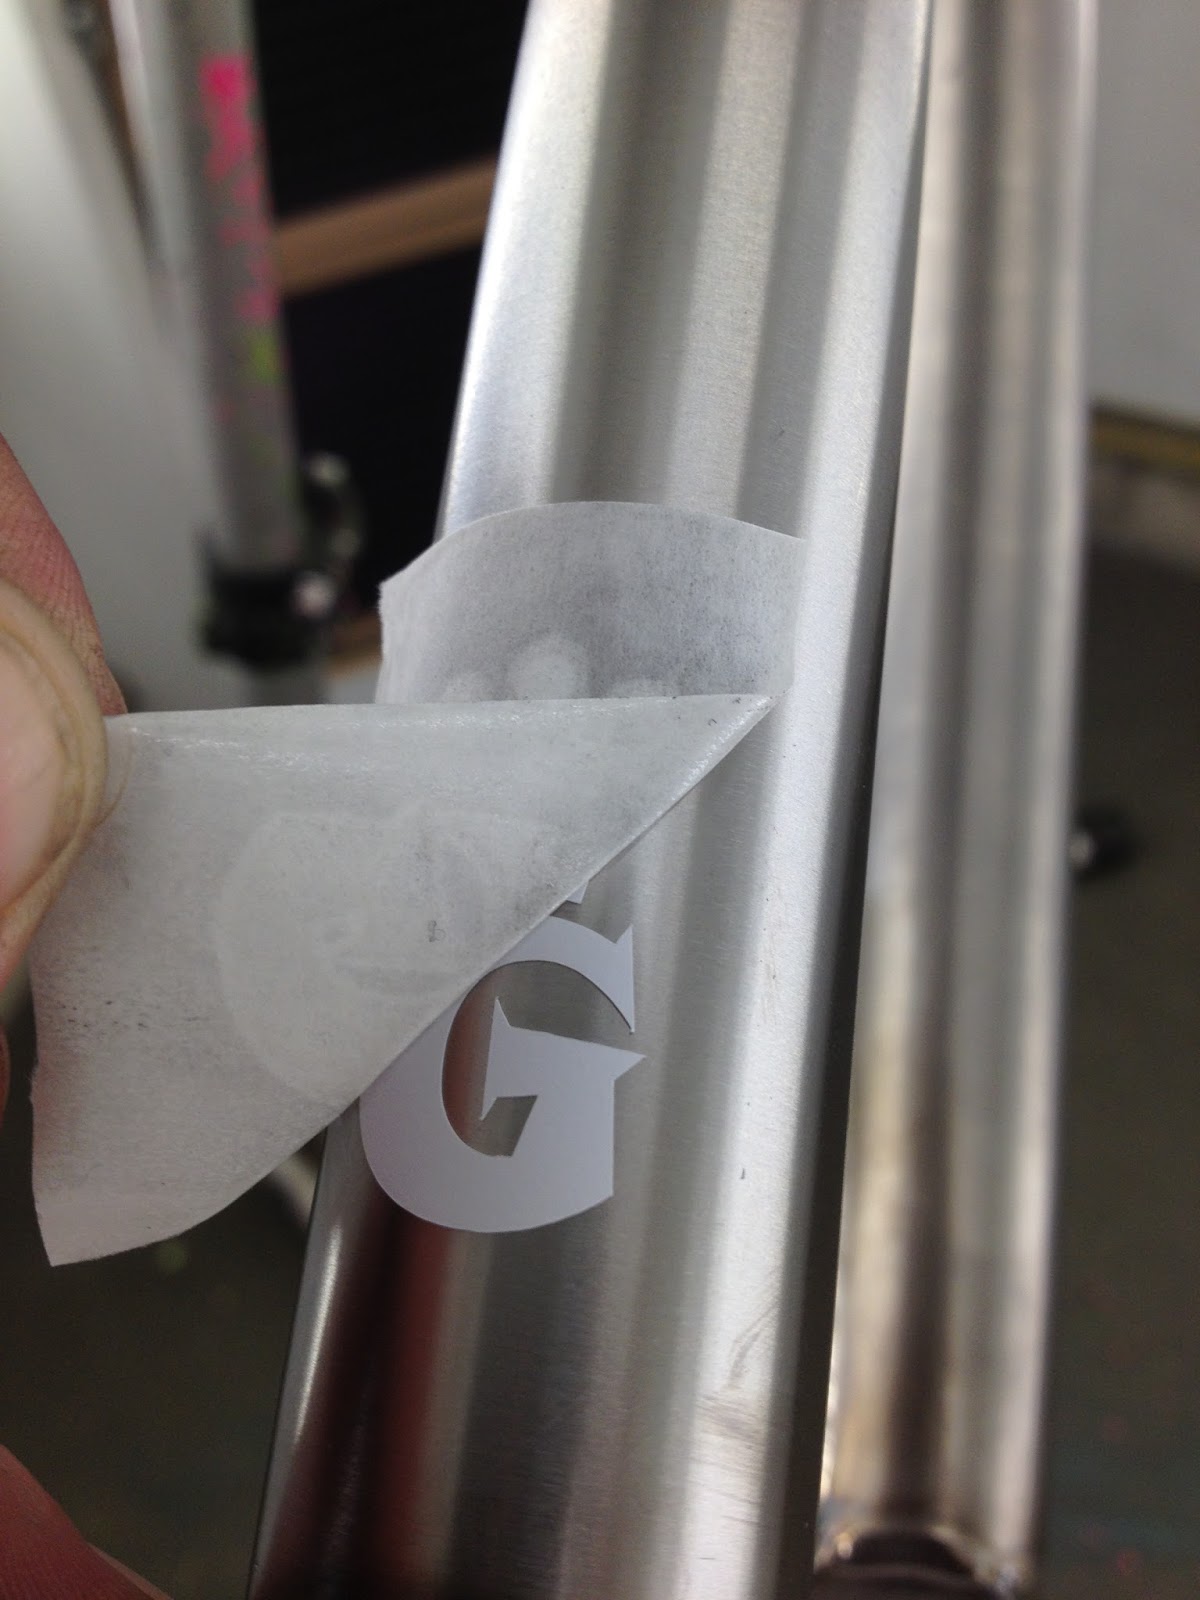
With the fork all completed in fabrication, I then cut out two Groovy masks for the media blasting...

The fork is then media blasted with an 80 grit glass bead to give a uniform finish in the cabinet.

Onto the steel forks...I built a rigid fork for Todd's Bomber bike and a unicrown fork for Kalten's monster cross project. Both utilized the same set of blades and dropouts, I just modified the axle to crown distance for the differing frame geometries...

Once the fork is fully fixtured, the fork is tacked together. the blades are about 1.2mm thick at the top of the unicrown, so it creates a heck of an edge to blend in to the steerer tube. With the thickness of the tubes, it takes a lot of amperage and filler to get it to create a smooth bead transistion. In this case, I ran a small pass around the "ears" of the fork blades first, then ran a full pass around the whole fork. This allowed me to build up this area for both good penetration and stress reduction.

The finished weld around the crown...

I used a different disc tab for the steel forks. It has a long tab for attachment so that it spreads the stress of the braking forces along a long section of the tapered fork blade.

Todds fork will be coated in graphite black ceramic, Kalten's will be finished in whatever paint scheme he comes up with.
2 comments:
Awesome work!
I really like the unicrown fork design. It seems like a safer approach vs. segmented forks. Can you describe your thoughts on the pros/cons of unicrown vs. segmented?
How does the ride compare between Ti forks and the steel forks?
Also, how is the weight for the Ti and steel forks.
Wow Mark, that's a lot to cover in a blog comment.
In short, the less welds, the stronger and more easily aligned the structure. Both types of construction have their place based on anticipated use and desired performance.
The weight difference between the two forks is not significant, as each was designed for similar use.
Post a Comment